What Are Garden Solar Lights?
Garden solar lights are outdoor lights powered by sunlight instead of household electricity.
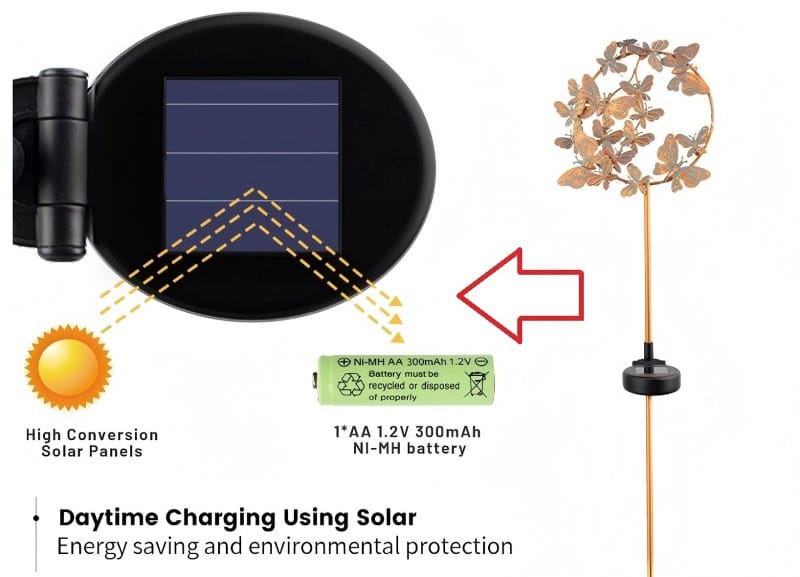
A typical solar garden light includes four basic parts: a solar panel, a rechargeable battery, an LED light source, and a light sensor. During the day, the panel collects sunlight and stores energy in the battery. At night, the sensor turns the LED on automatically.
In simple terms, garden solar lights are designed to provide decorative or light functional outdoor illumination without wiring, electricity bills, or complicated installation.
Because of that, they are widely used in pathways, patios, flower beds, borders, and other outdoor decorative spaces.

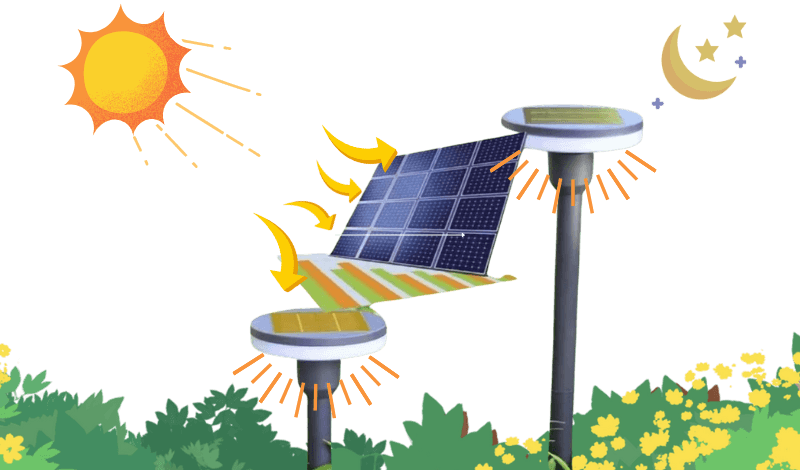
How Do Garden Solar Lights Work?
Garden solar lights follow a simple daily cycle:
- The solar panel absorbs sunlight
- The energy is converted into electricity
- The rechargeable battery stores that electricity
- A light sensor detects low ambient light at dusk
- The LED turns on automatically and uses the stored power
This is why component quality matters. A solar light is only as reliable as the parts inside it.
Main components of garden solar lights
| Component | Function |
|---|---|
| Solar Panel | Collects sunlight and converts it into electricity |
| Rechargeable Battery | Stores energy for night-time lighting |
| LED Light | Produces light with low power consumption |
| Light Sensor | Turns the light on at dusk and off at dawn |
| Housing | Protects internal parts and gives the product its form |
In most cases, the solar panel and battery have the biggest effect on charging efficiency and night runtime.
If you want to compare panel efficiency in more detail, see Monocrystalline vs Polycrystalline.
If you want to understand battery differences, see Lithium vs NiMH vs NiCd.
Why Are Garden Solar Lights Popular?
The biggest reason is simple: they do not need external wiring or grid electricity to run.
That makes them attractive for buyers who want easier installation, lower running cost, and more flexible placement in outdoor spaces.
Common reasons people choose them
-
No wiring needed
They are usually easier to install than traditional wired garden lighting. -
Low running cost
They use stored solar energy instead of drawing power from the grid every night. -
Flexible placement
Many models can be moved more easily than fixed wired lights. -
Decorative value
They are widely used to improve atmosphere in gardens, patios, flower beds, and walkways.
Solar lights vs traditional garden lights
| Feature | Solar Garden Lights | Traditional Garden Lights |
|---|---|---|
| Power Source | Solar energy | Electricity |
| Installation | Usually no wiring | Usually requires wiring |
| Running Cost | Low after purchase | Ongoing electricity cost |
| Placement Flexibility | Often easier to move | Usually fixed |
| Best Fit | Decorative and light functional use | Broader lighting needs, including stronger brightness |
This does not mean solar lights are always better. It means they are often a better fit where buyers want simplicity, lower cost, and decorative outdoor lighting.
Where Are Garden Solar Lights Commonly Used?
Garden solar lights are most often used in places like:
- pathways
- flower beds
- lawn edges and borders
- patios and seating areas
- decorative corners of the garden
In most cases, they are chosen for one of three purposes:
- decoration
- pathway guidance
- light outdoor ambiance
Some products can support lighter functional use, but many garden solar lights are selected first for convenience and visual effect rather than strong security-style brightness.
What Types of Garden Solar Lights Are Common?
Garden solar lights come in many forms, but beginners usually see a few common types first:
- Stake lights — often used for pathways, borders, and flower beds
- Hanging lights — used on hooks, pergolas, trees, or decorative features
- Wall-mounted lights — suitable for fences, walls, and perimeter areas
- String lights — mainly for decorative atmosphere
- Decorative solar lights — designs where appearance matters as much as illumination

This article only gives a simple overview. For a deeper breakdown of categories and where each one works best, see A Complete Guide to Garden Solar Light Types and Their Best Use Cases.
What Should Beginners Know Before Buying Garden Solar Lights?
You do not need to know everything before buying, but these basics matter:
1. Sunlight conditions
Solar lights work best where the panel can receive enough daylight. Heavy shade can reduce charging and shorten runtime.
2. Product quality
Panel quality, battery quality, and housing durability all affect performance.
3. Intended use
Some solar lights are mainly decorative, while others are better for pathways or light functional use. The wrong type can cause disappointment even if the product itself is not defective.
4. Weather resistance
Outdoor lights need suitable materials and sealing for rain, sun, and seasonal conditions. If you want to understand waterproof protection more clearly, see IP44 vs IP65 vs IP67.
At this stage, the goal is not to become an expert. It is simply to understand what garden solar lights are, how they work, and what affects their performance.
If you want the broader buying decision, you can also read Are Solar Garden Lights Worth Buying?.
Conclusion
Garden solar lights are outdoor lighting products powered by sunlight, designed to offer simpler installation, lower running cost, and flexible decorative use in outdoor spaces.
Their core idea is straightforward: they collect solar energy during the day, store it in a battery, and use that stored power to light an LED after dark.
For many buyers, they are a practical and attractive option for pathways, patios, flower beds, and decorative garden lighting.
If you want to explore product styles in more detail, Glowyard’s Decorative Garden Lights collection is a good place to continue.


![do solar lights work in winter at cemeteries [2026 guide]](https://glowyard.com/wp-content/uploads/2026/03/Do-Solar-Lights-Work-in-Winter-at-Cemeteries-2026-Guide.webp)