How Factory Manufactures Solar Garden Statue Lights: A Complete Guide
As a business owner with years of experience in producing solar-powered garden statue lights, I’ve gained a deep understanding of the processes, materials, and techniques involved in creating these lights.
Solar garden statue lights are not only a popular addition to outdoor spaces, but they also provide energy efficiency and long-lasting durability. In this guide, I’ll walk you through the process, step by step, and share my insights into the art of crafting these beautiful, functional pieces.
Introduction For How Factory Manufactures Solar Garden Statue Lights
Solar garden statue lights have become a staple in the world of outdoor decoration. They combine the aesthetic appeal of resin statues with the practicality of solar power, providing a glowing, eco-friendly lighting solution.
As a business owner in this field, I have seen the growing demand for high-quality solar lights and have refined the techniques needed to deliver exceptional products. In this article, I will take you through the entire production process, from mold creation to final color application, using my extensive experience to offer practical tips and tricks.
For more materials, pls read this post: 4 Materials for Solar Garden Lights You May not know

The Manufacturing Process of Solar Garden Statue Lights
Mold Creation
Creating a mold is the first and most crucial step in making solar garden statue lights. Over the years, I’ve learned that the mold you choose determines the quality and detail of the final product.
There are two primary types of molds used in resin production: silicone molds and fiberglass molds. I prefer silicone molds for their ability to capture intricate details and smooth finishes.
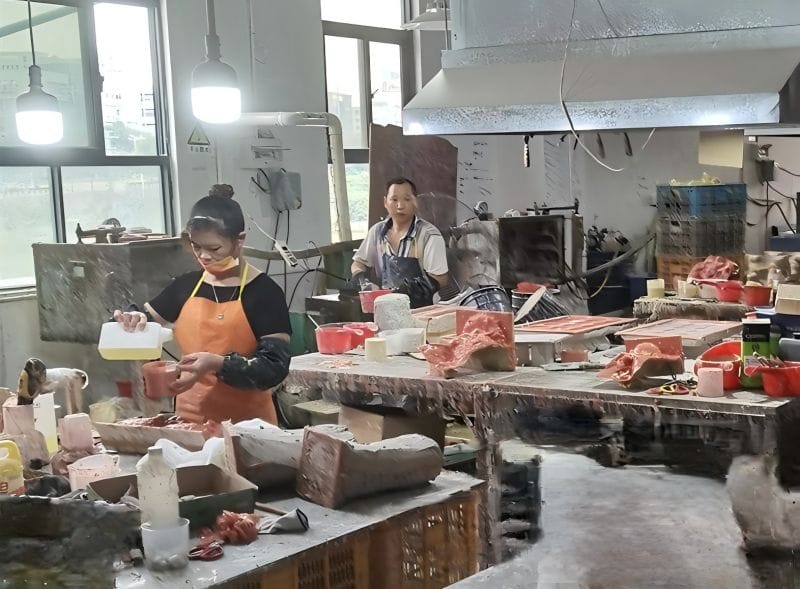
Types of Molds for Solar Garden Statue Lights
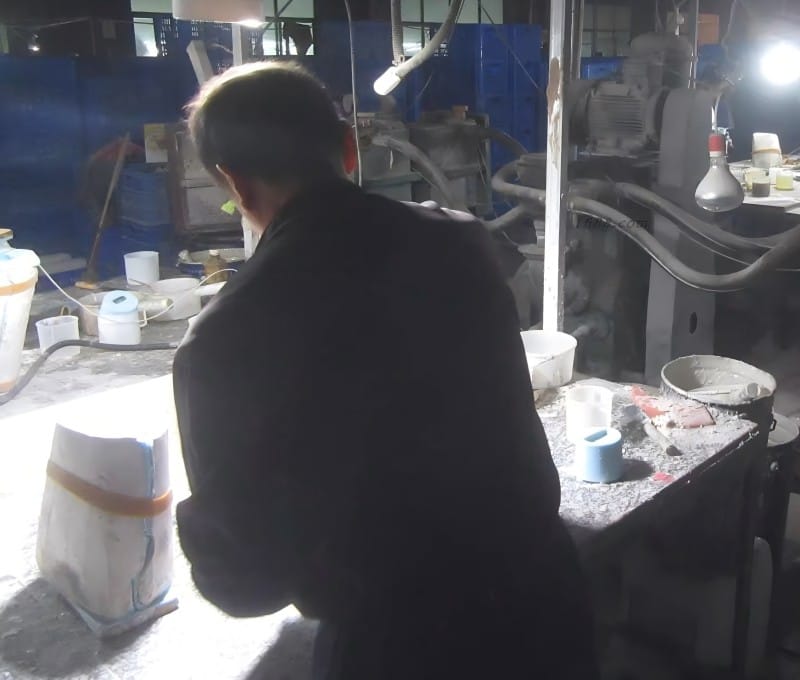
Sanding and Repairing
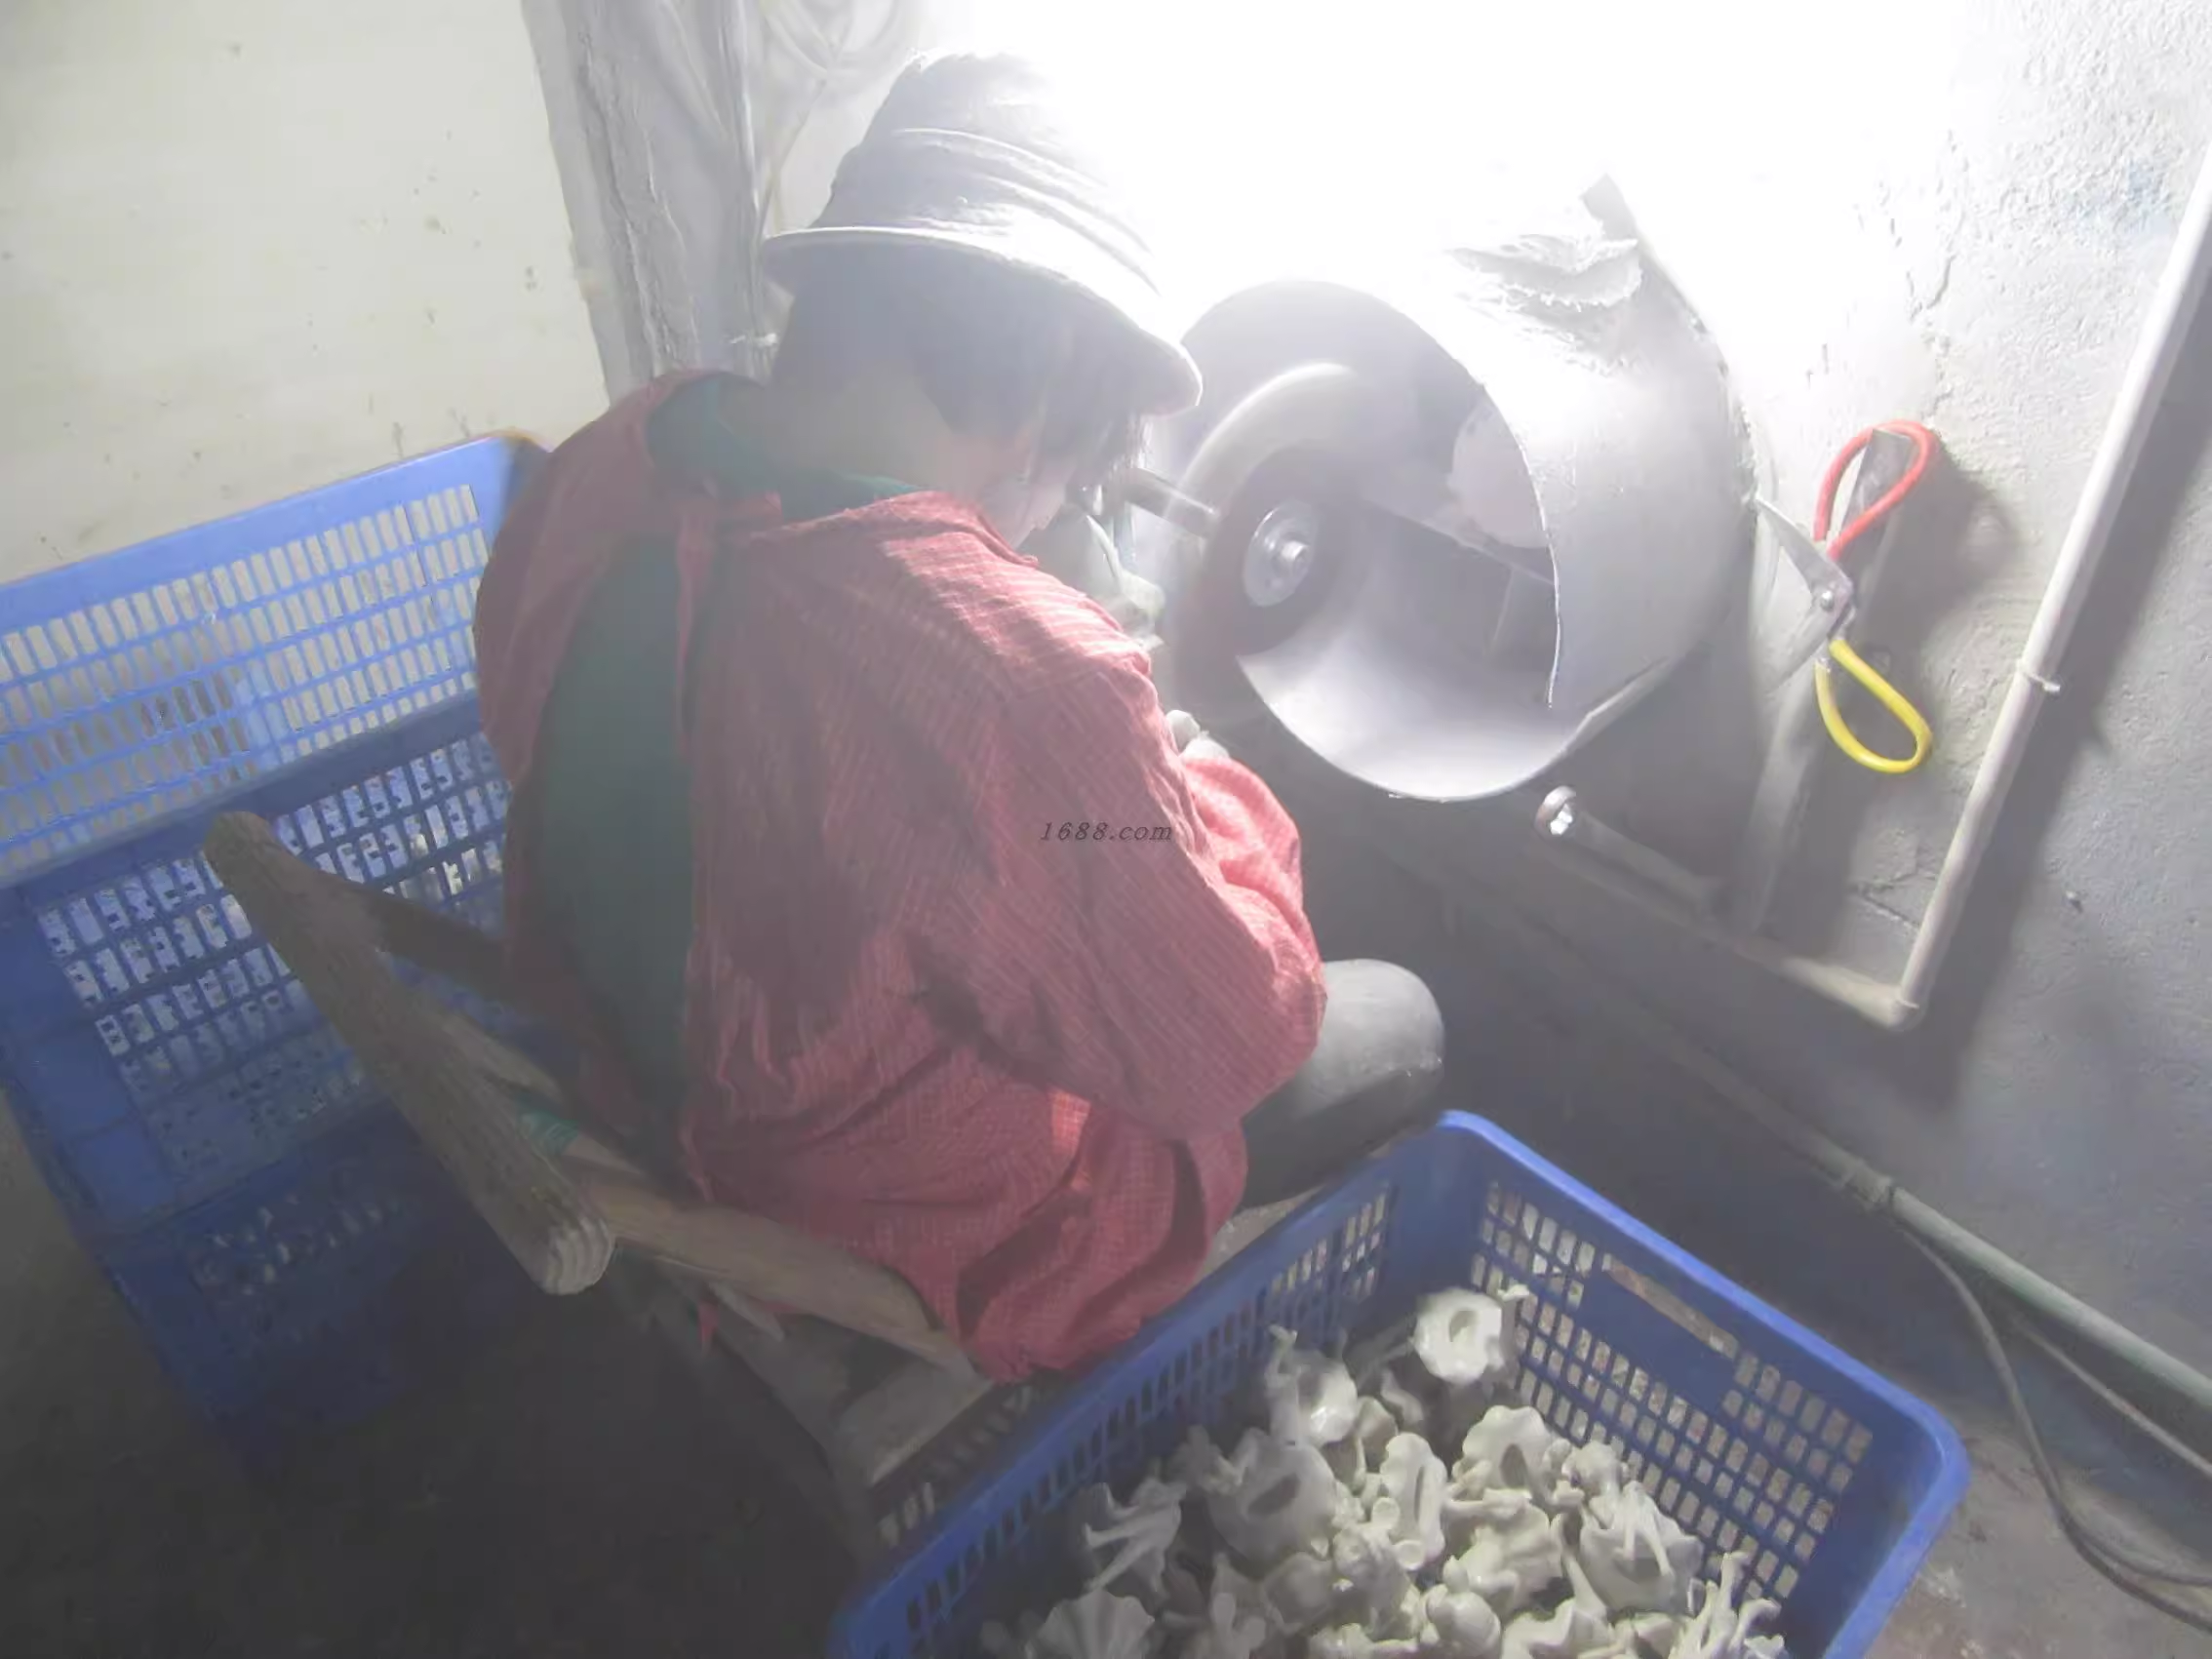
Sanding is an essential part of the finishing process for solar garden statue lights. Sometimes, defects like air bubbles or small damages occur during the curing process. In those cases, sanding smooths out imperfections and restores the quality of the product. When I first started, I didn’t realize how delicate the sanding process is. Using too rough of a grit can scratch the surface and ruin the fine details, so I’ve learned to use fine-grit sandpaper for a smooth, polished finish.
If there are any visible imperfections after the initial sanding, I repair them using a filler. Filler materials are specifically designed to bond with resin, making repairs seamless. Over time, I’ve perfected this technique to ensure that repairs blend seamlessly with the surrounding surface, making the lights look as if they were never damaged.
Surface Treatment After sanding
the next step is surface treatment. I treat the surface to ensure that the resin can bond properly with paint or other finishes. This step is crucial for achieving a smooth, uniform finish that will last. Surface treatment often involves cleaning the piece to remove any dust, oil, or residue that could prevent paint from adhering properly. I also use a primer to ensure that the paint sticks evenly and that the details of the design stand out.
Painting and Finishing
The painting stage is where the solar garden statue lights truly come to life. Choosing the right color can make or break the design. Over the years, I’ve worked with several types of paints, including acrylic, enamel, and outdoor-grade spray paints. Each type of paint has its own benefits and applications, but I always opt for durable, weather-resistant paints for solar garden lights.

Common Paint Types for Solar Garden Statue Lights
| Mold Type | Advantages | Best Use |
|---|---|---|
| Silicone Molds | Highly detailed, flexible | Complex designs like animals, flowers |
| Fiberglass Molds | Durable, heat-resistant | Large-scale, simple designs |
The mold is designed to match the shape and size of the statue. For example, if you’re crafting a statue light in the shape of a flower, you need a mold that can capture every petal and leaf. The higher the detail in the mold, the better the final result. I’ve worked with several different molds, and over the years, I’ve perfected the process to make sure the mold captures every detail with precision.
Resin Mixing and Pouring
Once the mold is ready, it’s time to mix the resin. This part of the process requires careful attention to detail. Resin consists of two main components: resin and hardener (also known as a catalyst). The key to success here is ensuring the correct ratio of resin to hardener. Over the years, I’ve learned that a small error in the mixture can lead to weak or uneven results.
Resin Mixture Ingredients
| Component | Purpose |
|---|---|
| Resin | Base material for molding |
| Hardener | Activates the resin to harden |
| Fillers | Add texture, weight, and finish |
| Colorants | Adds color and visual appeal |
Temperature and environmental conditions also play a significant role in the mixing and curing process:
- A room that’s too cold can slow down the curing process.
- A hot environment can cause the resin to set too quickly, trapping air bubbles.
When I first started, I didn’t fully appreciate how crucial temperature control is, and it cost me a few wasted batches. Now, I ensure that the temperature is just right for each stage.
Pouring process tips:
- Pour slowly to avoid air bubbles.
- Use layered pouring to eliminate trapped bubbles.
- Ensure the resin fills the mold evenly.
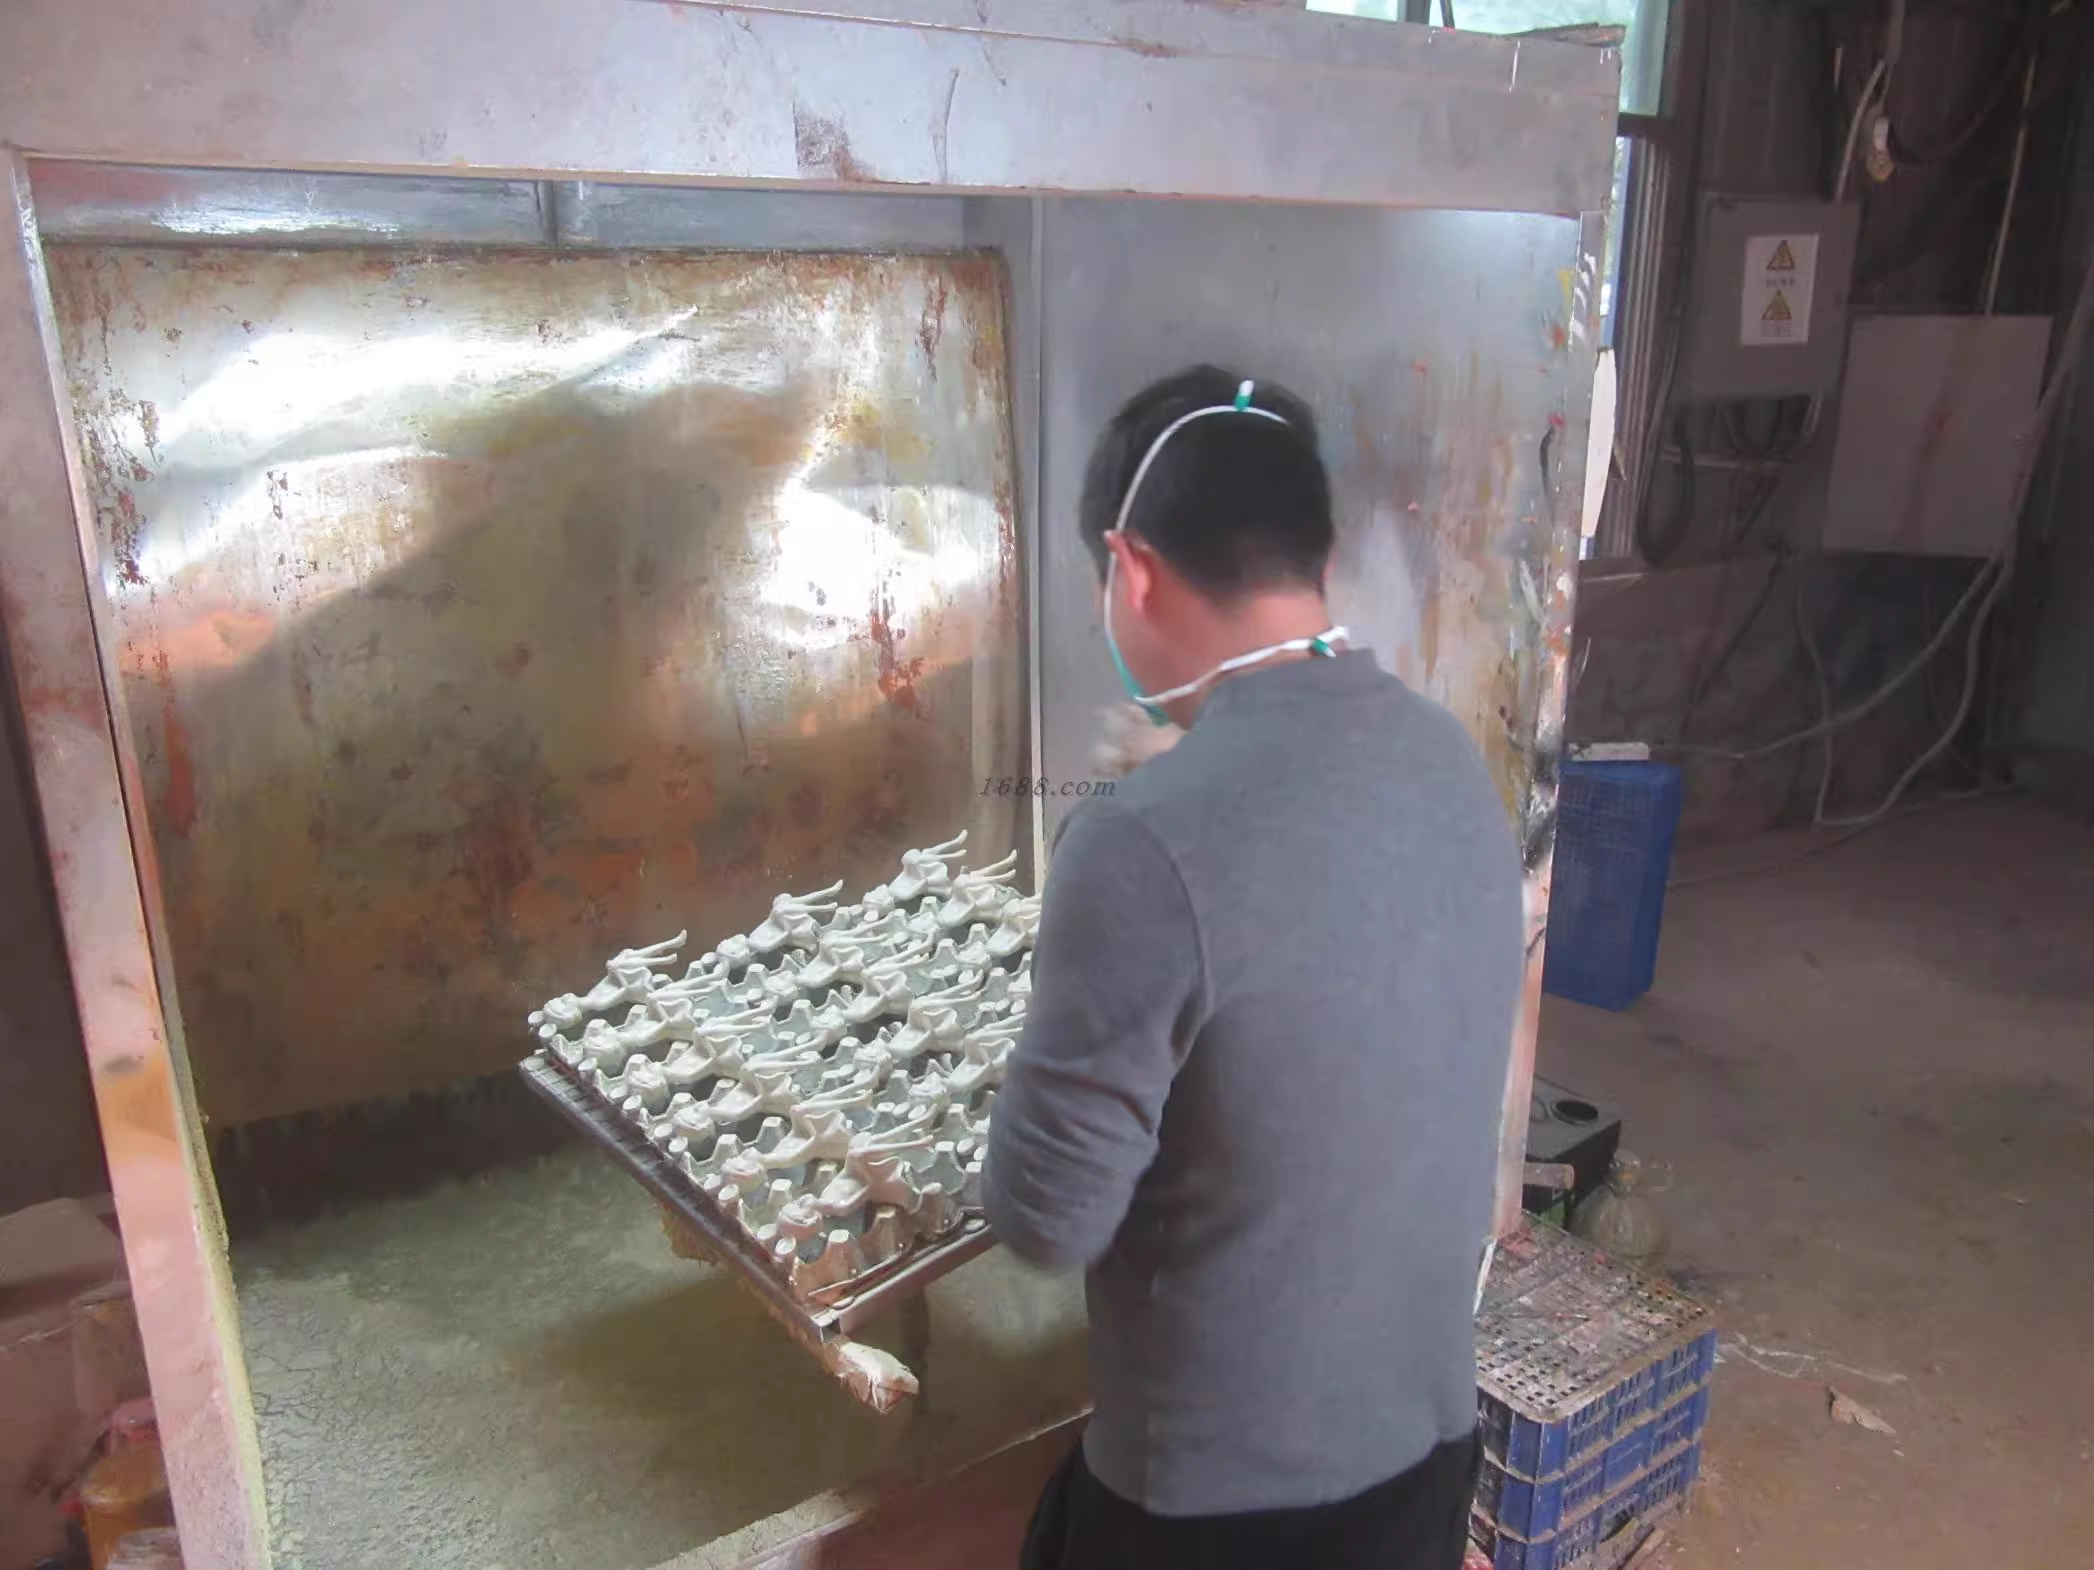
A Step-by-Step Process for Manufacturing Solar Garden Statue Lights
Here is a quick overview of the process that I follow in my workshop to create solar garden statue lights:
- Create the Mold Choose a mold that suits the design of your light. For more detailed shapes, I use silicone molds, while simpler designs are cast using fiberglass molds.
- Mix the Resin Carefully measure and mix the resin and hardener. Pay attention to temperature and humidity to ensure the resin cures correctly.
- Pour the Resin Slowly pour the resin into the mold, avoiding bubbles by pouring in layers.
- Let the Resin Cure Allow the resin to cure completely. Depending on the type of resin and environmental conditions, this could take several hours to a day.
- Sand and Repair After curing, sand down any imperfections and apply filler if necessary.
- Treat the Surface Clean and prime the surface to prepare it for painting.
- Apply Paint Apply one or more coats of outdoor-grade paint to achieve the desired color.
- Add Finishing Touches After the paint has dried, apply a clear protective coating to ensure durability.
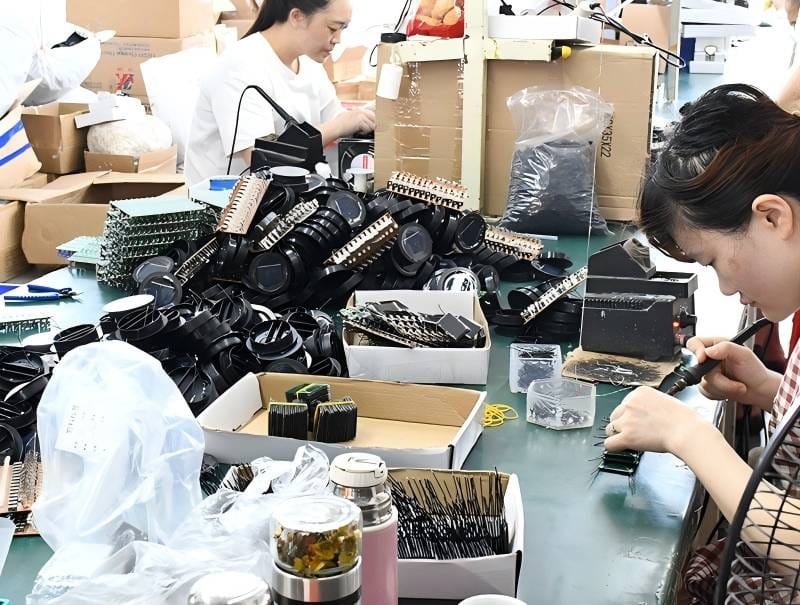
- Install the Solar Components Once the resin piece is ready, install the solar panel, battery, and LED light components.
Conclusion
Creating solar garden statue lights is a complex yet rewarding process that requires skill, attention to detail, and high-quality materials. As someone who has spent years in this industry, I can confidently say that perfecting the craft takes time and dedication.
However, once you’ve mastered the process, you can create beautiful, functional lighting solutions that will add charm and energy efficiency to any outdoor space.

Are you looking for a Certified Solar garden lights supplier?
As a Wholesale Solar garden light Manufacturer, Soume Lighting Co., Ltd has years of experience producing top-quality solar garden statue lights for the global market. Our team is dedicated to crafting durable, aesthetically pleasing lights that meet the highest standards. Whether you’re a distributor, wholesaler, or retailer, we are here to help you meet your lighting needs with exceptional products. Reach out to us today to learn more about our range of solar lights and how we can support your business growth.
If you’re a outdoor lighting distributor, retailer or brand owner who is looking for a certified & trusted solar garden lights manufacturer, feel free to reach out. We offer:
- Free samples for qualified buyers
- OEM & ODM for solar garden lights
- Full pre-shipment QC and warranty support
📩 Contact us today for the latest catalog and exclusive B2B offers.

Glowyard new solar garden light product launch with creative outdoor designs


